Stone cladding fails for reasons that rarely have much to do with the stone itself. It fails because a 30 mm panel was specified onto a substrate that could not carry it, because a stainless bracket was paired with a limestone that holds water, or because nobody drew the movement joint at the corner. The decisions that matter are made early, usually on a section drawing and a specification sheet, months before the first crate arrives on site. What follows is the order in which those decisions hold together best.
Start with the wall, not the stone
Before opening a single sample box, find out what the wall can actually accept. Weight is the first filter. Stone runs roughly 2,500 to 2,700 kg per cubic metre, so a 30 mm panel sits around 75 to 80 kg per square metre before you add brackets, rails and any mortar. A 40 mm panel goes considerably higher. On a framed building that is manageable; on a thin masonry leaf with suspect ties, it may not be.
Then check what is already there. Is the substrate plumb, and how much does it vary? A cavity-based system can absorb 20 or 30 mm of deviation with adjustable brackets. Direct bonding cannot. If the wall is a new concrete frame, you have freedom; if it is a 1960s brick infill, you have constraints and probably some exploratory opening-up to do. Get the structural engineer to confirm the imposed load and the pull-out capacity of the anchors in the actual substrate, not a nominal one.
Finally, fix the principle: is this cladding a rainscreen that keeps rain off the wall behind, or a decorative skin that happens to shed some water? The first is a system with a drained cavity, a membrane and a ventilation path. The second is a finish. Mixing the two halfway through design is where most trouble begins.
Choose the stone against its exposure, not its photograph
Every stone looks good in a showroom. The question is what it does after five winters. Ask for the technical data, and read it with the site in mind:
- Water absorption and porosity. In freeze–thaw climates, a high-absorption stone can spall from the face. Demand freeze–thaw test results, not just a porosity figure.
- Flexural strength. This sets the minimum thickness for mechanically fixed panels. Thin panels in a weak stone need more support points, not fewer.
- Salt resistance. Coastal and de-icing-salt exposures punish certain limestones and sandstones. Granite and basalt generally cope better; test where it matters.
- Petrography. A thin-section examination reveals clay minerals, veins and bedding weaknesses that a photograph hides. It is cheap insurance on a large order.
- Bedding direction. Sedimentary stones must be laid with the bed the right way up in the quarry block. Get this wrong and panels delaminate in service.
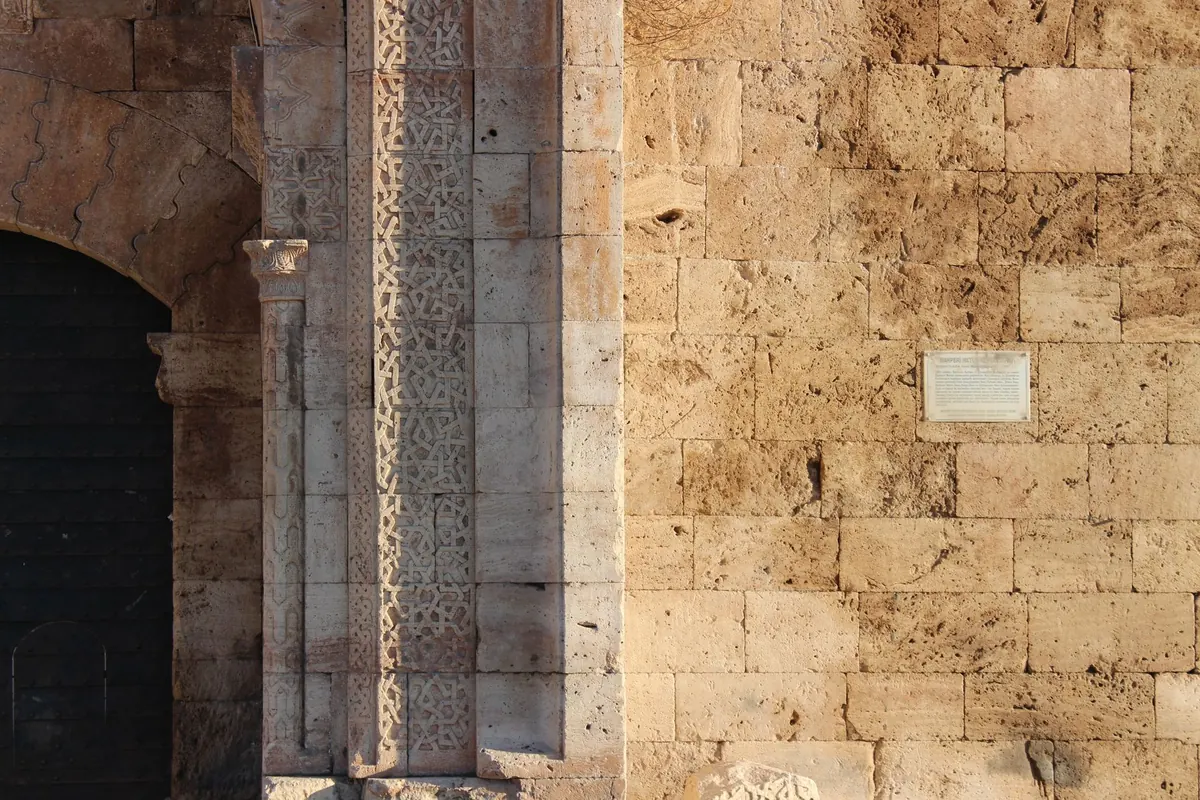
Also decide how the facade will look as a whole: coursing, joint width, whether panels are honed, bush-hammered or split-face. Split-face stone is beautiful and holds dirt in a way a honed surface does not. On a rainy elevation facing traffic, that difference is visible within two years.
Settle the fixing method early
There are three broad routes, and each carries a different set of commitments.
Direct adhesion
Panels bonded to a prepared substrate with adhesive or a cementitious bedding. It is economical on low-rise work and gives a tight, thin profile, but it demands a flat, stable, well-bonded background, and it is unsuitable over most insulation. Some building codes restrict it above certain heights or on certain substrates. If the background moves, the stone follows it.
Mechanical fixing to a frame
Stainless steel dowels, kerf anchors or undercut anchors carry the panel, usually into vertical rails fixed to brackets. This is the workhorse approach for medium and tall facades, and it tolerates substrate tolerance. Specify stainless steel of an appropriate grade — 316 rather than 304 for coastal or polluted sites — and insist on isolation between dissimilar metals to avoid bimetallic corrosion.
Ventilated rainscreen
A drained and back-ventilated cavity, typically 40 to 50 mm, between the stone and a continuous insulated backing wall. It is the most forgiving system thermally and the most robust against rainwater, because any water that gets past the joints drains out at the base and dries by convection. It costs more in components and demands proper cavity fire stopping at floor levels.
Detail for water and movement, in that order
Water gets in. The design assumption should be that it will, and the facade should be built to let it out again. That means a continuous, shuttered drainage plane behind the stone; flashings at every interruption; a drip at every projecting sill and coping; and open or intentionally drained joints where you are not sealing.
Movement is the other silent failure mode. Stone expands and contracts thermally, the frame moves, and the building settles. Provide movement joints at structural movement joints, at changes of substrate, at corners and at regular intervals across large elevations — the exact spacing comes from the panel and frame design rather than a rule of thumb. Never let a rigid stone panel bridge a joint that the structure needs to open and close.
Coordinate with insulation and the wall build-up
Insulation and cladding compete for the same 150 to 250 mm of wall zone, and the coordination is where drawings most often fall apart.
Decide the insulation type with the cavity in mind. Mineral wool is the common choice behind ventilated stone facades: non-combustible, vapour-open and able to tolerate a damp cavity. Rigid foam boards perform thermally but must be detailed carefully for fire and for fixing. Whichever you choose, the brackets will penetrate it. That penetration is a thermal bridge, and on a well-insulated wall it can account for a surprising share of the heat loss. Use brackets with thermal breaks where the specification calls for them, and keep the number of penetrations to what the structural design needs.
Then check the sequence: membrane on the substrate, insulation outside it, cavity, stone. Air barrier continuity, vapour control and the position of the dew point all shift depending on where the insulation sits. On a steel or timber frame, that is a condensation question, not an aesthetic one. Have the whole build-up assessed as one assembly rather than three products bought separately.
Accept weathering as part of the design
Stone changes. Limestone lightens and darkens with wetting and drying, sandstone grows a green film on north elevations, and anything within a few hundred metres of the sea will pick up salt. None of this is failure, but it should be anticipated. Detailing that encourages self-cleaning — steeper slopes on copings, generous drips, avoiding flat ledges where dirt and water sit — does more than any cleaning regime. Where cleaning will be needed, make sure there is access for it, and specify a method appropriate to the stone before the building opens rather than after the first complaint.
The sequence that keeps a facade on track
Practical order of work, from first sketch to first panel:
- Confirm substrate type, tolerance and load capacity with the structural engineer.
- Select the stone on test data matched to the exposure, then confirm the quarry bed and finish.
- Choose the fixing system and cavity depth, and draw the section at full scale.
- Resolve insulation, air barrier and cavity fire stopping in the same drawing.
- Detail movement joints, base flashing, head, sills and every penetration.
- Build a mock-up panel on site — full build-up, including insulation and bracket — and test it before the order goes to the quarry.
- Set out the coursing and panel sizes to the real dimensions of the elevation, not the drawn ones.
- Order early. Stone is quarried and finished to a programme, and a late change of finish costs weeks.
Do these in order and the facade becomes a series of answered questions. Skip two or three of them and the answers arrive on site, in the rain, in front of the client.
Photo: Ahsen / Pexels