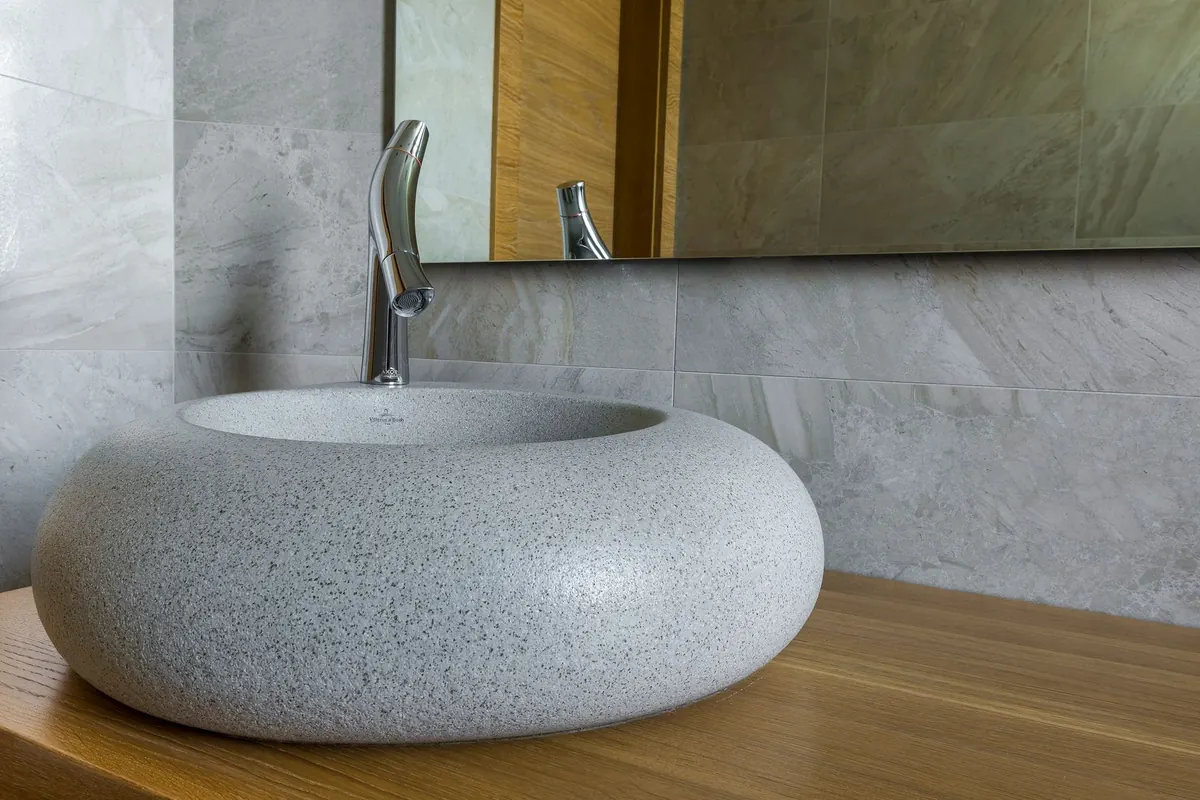
A stone sink is one of the few things in a house that will outlast the mortgage. It is also one of the few that cannot be returned. That is the honest starting point for anyone commissioning one: the material is unforgiving, the process is slow, and the finished piece is cut for exactly one room. The good news is that the sequence is well established. If you know what happens between the first site visit and the last bead of sealant, most of the surprises stay away.
Start with the space, not the stone
Before a shade of marble is chosen, somebody has to look inside the cabinet. A custom sink is a three-dimensional puzzle: the basin, the waste, the trap, the tap tails, the drawer boxes and the person standing at the counter all have to agree with one another. The measurements that matter most are usually the ones missing from the drawing.
Write these down on site, not from memory:
- Finished floor level to proposed countertop height, measured in the actual room.
- Internal basin depth, and the resulting height from the floor to the bottom of the bowl.
- Position of the waste and trap, including how much room the trap needs to drop and turn.
- Tap hole centres, measured from the basin centreline rather than the cabinet edge.
- Wall thickness and straightness behind the unit — old plaster is rarely plumb.
- Who will use the sink and for what: washing vegetables, filling stockpots, bathing a child.
Ergonomics decide more designs than aesthetics do. A 20 cm deep bowl set into a 90 cm counter is comfortable for most people; the same bowl at 96 cm is tiring to reach into, and a deep farmhouse-style apron sink drops the working base further still. Cardboard mock-ups look amateurish and cost almost nothing. Tape a box to the counter for a day and see how it feels to lean on it.
Templating: measuring a room that has already moved
Templating happens last, not first, and it happens after the cabinet carcass is fixed, the floor is finished and the plumbing is roughed in. A template made too early records a room that will not exist by installation day.
Physical or digital
Traditional templating uses 6 mm MDF or ply strips hot-glued together and scribed to the wall, with the waste and tap centres marked in pencil. It is cheap, forgiving and easy to check with a spirit level on site. Laser templating produces a digital file that feeds directly into a CNC saw or waterjet, which suits complicated shapes and repeated units, but it still needs a human to confirm that the numbers match the room.
Either way, ask to see the template and walk through it yourself. A good template shows the cabinet outline, the wall line, the front edge, the plumbing centres and any reference height the fabricator needs. If it is a paper sketch with a few arrows on it, slow down.
Choosing the block and the fabrication route
Two families of sink dominate: the slab-built sink, assembled from 30 or 40 mm stone, and the solid block, hollowed from a single piece. The slab version gives you a lighter, more economical object with visible seams at the corners. The solid version gives you an unbroken interior with no joints to seal, at the cost of weight and material.
That weight is worth calculating before you fall in love with a design. Marble and most dense limestones sit around 2,600 to 2,700 kg per cubic metre, so a block measuring 60 × 45 × 15 cm comes out at roughly 110 kg before the plumbing is attached. Granite and basalt are heavier again. A cabinet built for a ceramic bowl will not necessarily carry that.
Carving, cutting and handwork
Most workshops rough out the basin with CNC tooling or a waterjet for the cutouts, then finish the inside by hand. Hand-carving is slower and produces a slightly irregular interior that many people prefer; it also demands a fabricator who has done it before. Ask to see a finished sink, not a photograph of one. Look into the bowl at eye level with a light behind you: the inside surfaces should flow without ripples, and the internal corners should be consistent.
Edge details that decide how it feels
The rim is where hands rest and where chips begin. A square edge reads crisp and modern but has a fragile arris; a 2 mm eased edge survives daily use far better and looks nearly identical from standing height. Bullnose, chamfer and ogee profiles are all traditional options, and a chiselled or roughly dressed edge suits a rustic setting.
Inside the bowl, the junction between wall and base matters more than the outer profile. A tight internal radius traps crumbs and needs a brush; a 10–15 mm radius wipes clean with a cloth in one pass. Rim thickness is a similar trade-off: thin rims look elegant and chip, while 20 mm or more is robust without looking clumsy. For an apron-front sink, settle the reveal — the amount the stone face sits forward of the cabinet doors — before fabrication, because it cannot be adjusted later.
Drainage, overflow and the details nobody sees
A standard 90 mm waste is the default, but the position is a design decision. Centre it for symmetry, or set it back so the bowl looks emptier and the slope to the drain is shorter. Slot overflows need a channel cut into the wall of the bowl before polishing, so they must be settled on the drawing, not on site.
Some plumbing codes require an overflow on a basin, some do not; check with your plumber before the stone is cut rather than after. Also confirm that the trap will clear the back of the cabinet once the bowl's depth is subtracted from the counter height — a frequent and expensive discovery.
Installation, support and the days afterwards
On the day, the sink should arrive protected, with lifting points agreed in advance. A solid block may need a steel frame, corbels or a masonry plinth under the cabinet. Bed the sink on flexible silicone rather than a rigid mortar, which can crack under movement, and check it with a level in both directions before the sealant skins over.
Sealing is stone-specific: dense granite needs little, limestone and travertine want an impregnating sealer, soapstone is usually oiled. Fill the bowl and leave it for a few hours before the final seal, and look underneath for weeping. Then keep the sink covered while the rest of the build finishes — plasterers and painters treat an uncovered basin as a bucket.
Before you sign off: a short checklist
- Template taken after the carcass and floor were finished, and checked on site.
- Basin depth and counter height tested with a mock-up, not guessed.
- Waste, overflow and trap clearance confirmed by your plumber in writing.
- Edge profile and internal radius agreed with a sample in hand.
- Weight and support method settled before the block leaves the workshop.
- Sealer specified for the actual stone, with a water test completed.
None of this is complicated, but all of it happens in a fixed order. Get the sequence right and the sink will look as though it was always part of the room — which, in the end, is the only standard worth aiming for.
Photo: Max Vakhtbovych / Pexels